Roof Vent Boot Installation Services Overview
Visitors can learn about roof vent boot installation services and compare local contractors who handle this work.
- - Residential homeowners seeking reliable roof vent boot installation services from local contractors.
- - Property managers needing professional vent boot replacements to maintain building integrity.
- - Home improvement projects requiring experienced local service providers for roof vent boot upgrades.
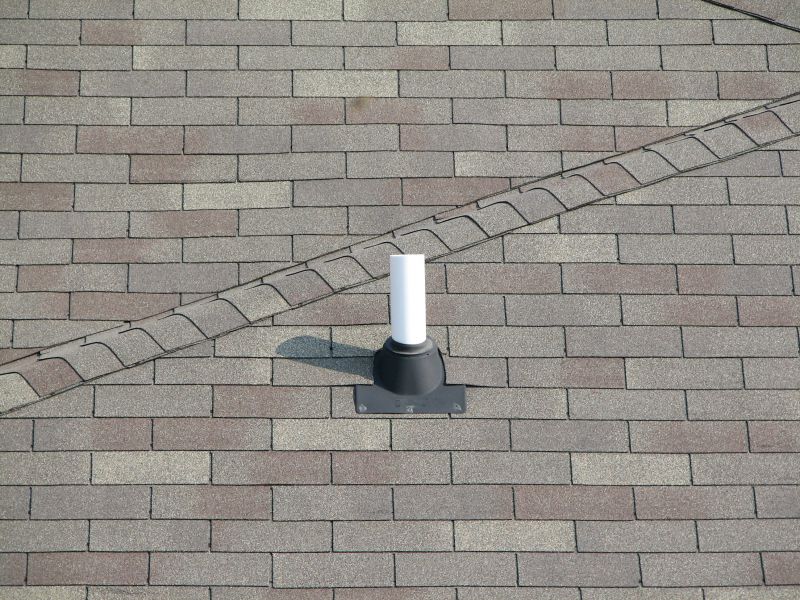
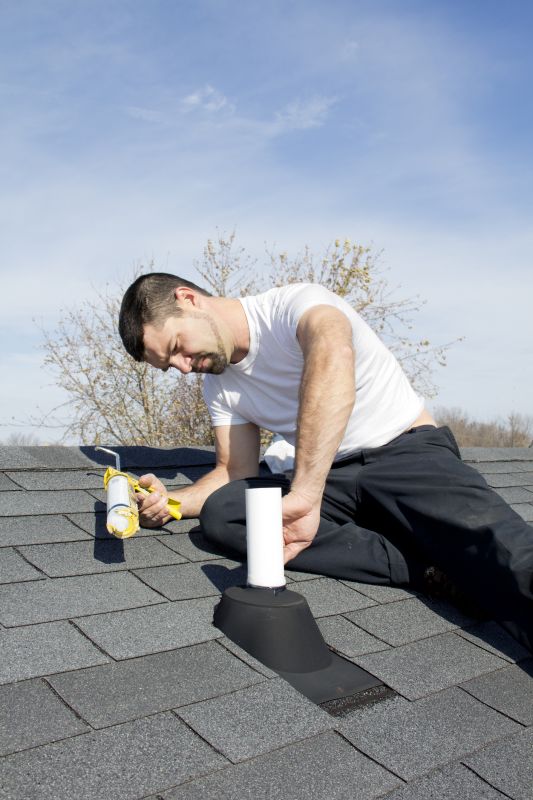
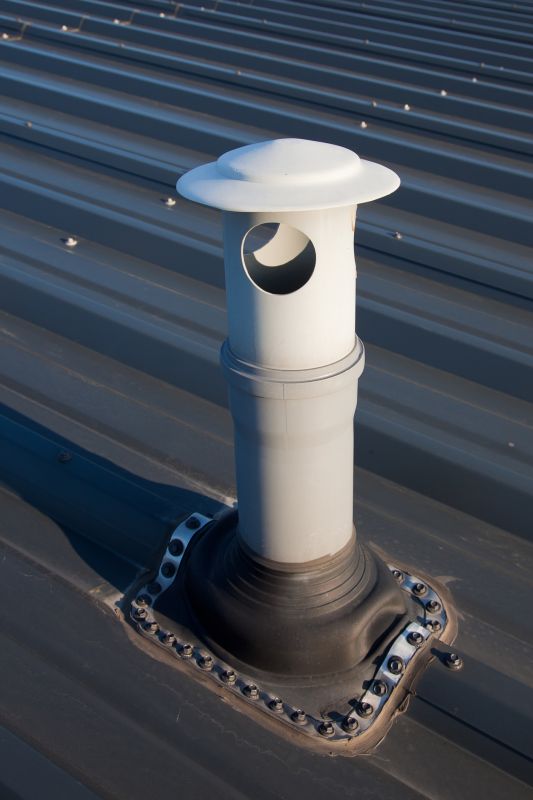
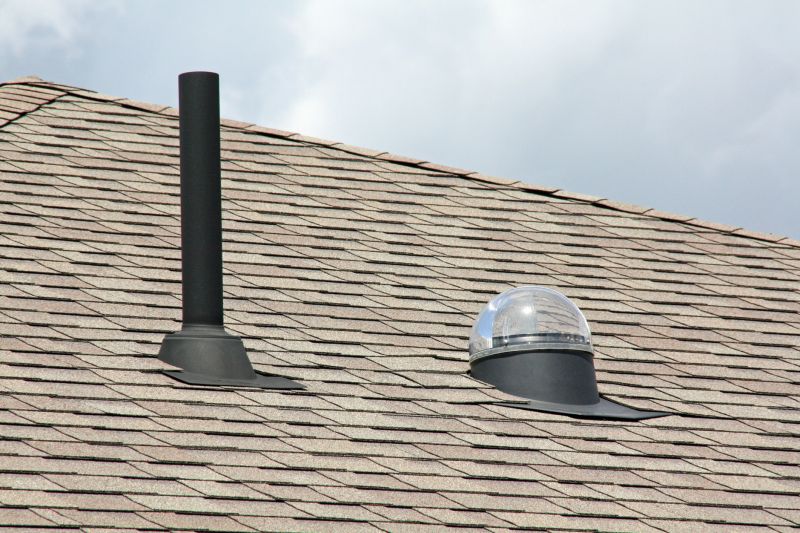
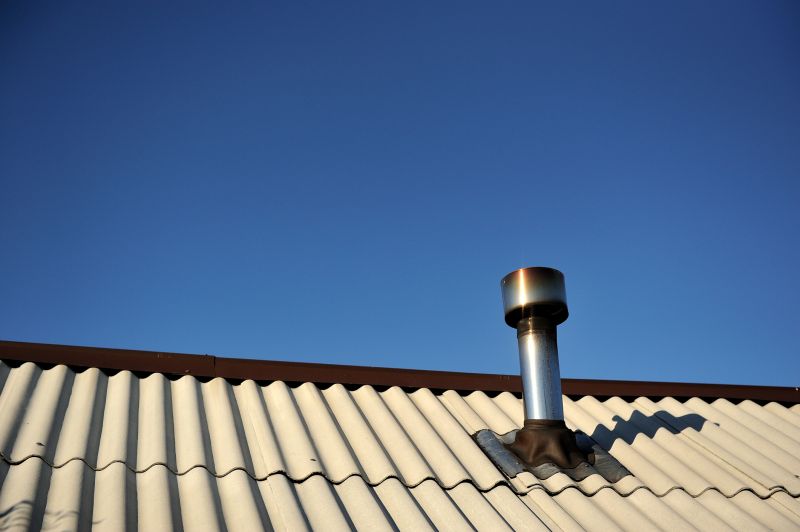
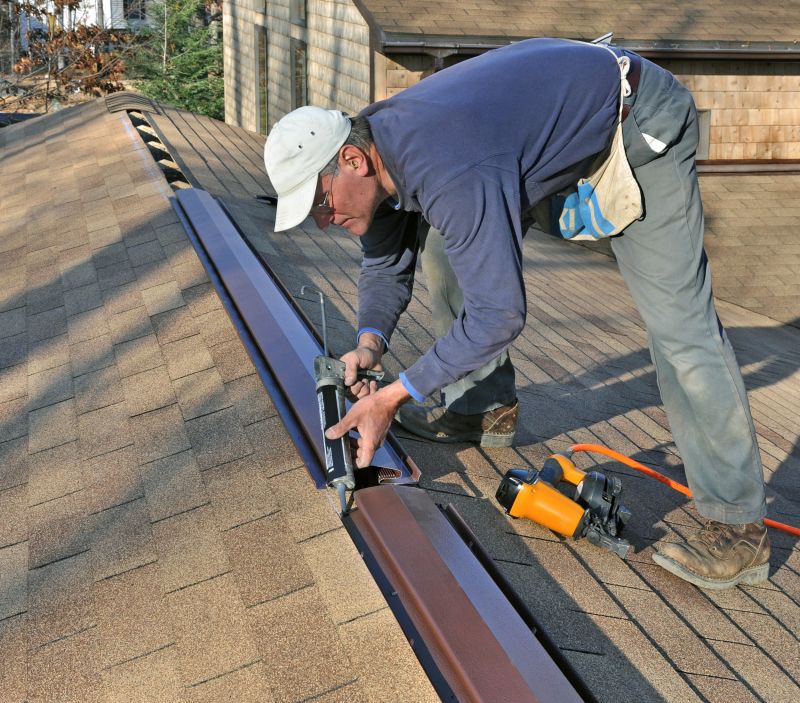
Roof vent boot installation is an essential part of maintaining a properly ventilated and weather-tight roof. This service involves installing or replacing the rubber or metal boots that seal around roof vents, preventing water leaks and ensuring proper airflow. Property owners often seek out local contractors for this work when experiencing issues such as leaks, drafty attics, or when upgrading their roofing system. Skilled local service providers can assess the condition of existing vents, recommend suitable materials, and perform the installation with attention to durability and effectiveness.
Connecting with experienced local pros for roof vent boot installation can help ensure that the work is completed to standard. These professionals typically handle a variety of related tasks, including inspecting existing vent seals, removing damaged boots, and installing new ones that fit securely around roof penetrations. Property owners can expect clear communication and expert advice on the best options for their specific roofing setup. By comparing local service providers, homeowners and business owners can find the right fit to address their vent sealing needs efficiently and reliably.
This guide provides clear information to help homeowners understand the key aspects of roof vent boot installation. It assists in comparing local contractors and understanding what to expect from different service providers. By outlining important considerations, the guide helps users prepare to discuss their project with qualified local experts.